‘Tis the season to hang those roof lights. And along with holiday spirit comes the danger of heading up to the roof to hang those lights. Here at Red Dog’s Roofing, we’re well aware that the roof isn’t the best place to spend your winter. It’s steep, high above the ground, and in the middle of a snowy winter, it’s slippery. We urge you to be extra careful if you’re hanging your lights yourself this winter. That’s why we’ve compiled a few safety tips to keep in mind as you put up those festive lights. Please be safe! And consider calling a professional lighting crew if you’re concerned about putting up lights yourself! Here are our tips...
Plan and Prepare Tools Ahead of Time
First thing’s first, be sure to get your tools ready, and plan your lighting setup early. It’s likely that you’ll need all of the following tools for your lighting installation:
- Measuring tape: If you’re installing lights for the first time, you may not know how many strands you’ll need or how long of strands you need to purchase. Grab a measuring tape and head outside to get the dimensions of your roof. You can measure the footprint of your home and add in a few yards of buffer to get a rough estimate of the length of lights you’ll need to surround the perimeter of your roof (remember that the hypotenuse angles of your roof will add a bit of length if you’re going off of the footprint of your home). You can also measure your roof while you’re on top of the roof for more accurate measurements — just be sure to be cautious and follow our other safety tips if you’re navigating across the surface of your roof!
- Ladder: You’ll need a sturdy ladder, and you should locate the best spot to place it if you’re working from atop your roof (as opposed to moving the ladder along the side of the house as you work). Be sure that your ladder is long enough to reach your roof line comfortably. We suggest getting an adjustable ladder so you can adjust it to just the right length.
- Hanging pole: If you have permanent light clips around your roof, you may be able to decorate the whole house with just a light hanging pole. These poles are often extendable, making it easy and safe to hang lights from the ground.
- Light clips: You can find permanent and temporary light clips that can be installed on your gutters, walls, and the roofing material itself. Light clips are designed to make hanging lights easy, without damaging your home. Invest in plenty of light clips, and follow the guidelines on the clips that you purchase for the spacing and installation instructions.
- Timer or controller: Automate your lights with a timer or controller if you’d like. Or go old-school and simply plug in your lights when night falls. These days, you can find remote controls that you can turn on and off with your smartphone. Or, you can invest in a timer that triggers the lights to turn on every evening.
- Lights: Of course, you’ll need lights. If you already have all the lights you need for your property, be sure to check them before installing them (just plug them in real quick), and fix any broken bulbs or strands. Prepare your lights for installation by untangling them and winding them into a loop that you can throw over your shoulder.
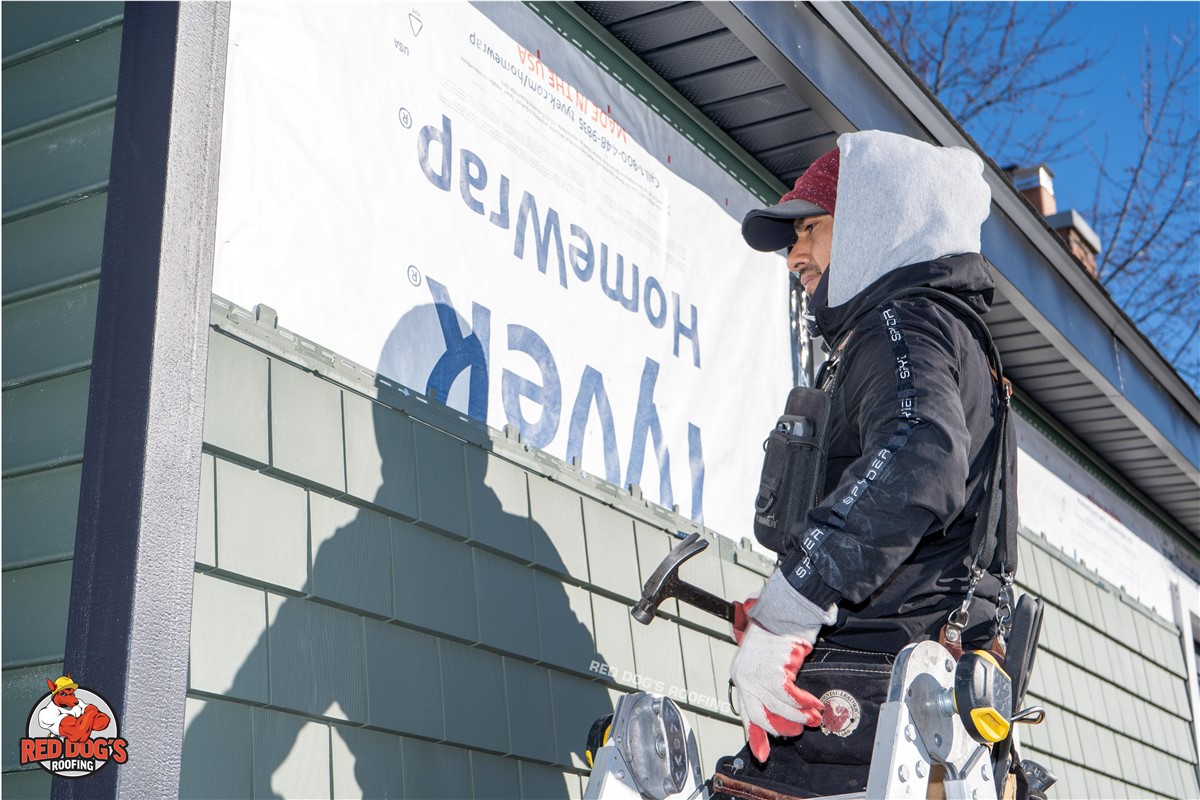
- The right clothing: Bundle up, and strap on the right shoes for the job. If you’re getting on your roof, you’ll want to wear shoes with rubber soles and plenty of traction. Also, throw on some finger gloves that are well-insulated to protect your hands while giving you the dexterity you need to hang strands of lights. Wear a warm winter cap, a coat, and anything else that you prefer to keep warm. Don’t wear loose clothing that can get caught on a light clip or anything else you’re working with.
- Roof harness: If you’re getting up on your roof, invest in a roof harness system. These systems can be quickly installed on your roof as a safety measure, harnessing you to a temporary device that can be installed atop your roof. Roof harnesses are a good idea regardless of the height and pitch of your roof.

Install Early
While we may be a month out from the major holidays, now is the time to install those lights. Conditions will only get colder, and the threat of snow is only growing. Even if you don’t plan on turning your lights on for a couple of weeks, it’s a good idea to get the lights up and installed as soon as possible to mitigate the risks of getting on the roof. If you can, try to set aside time to install your lights on a warm, wind-free day.
Work With a Partner
You should always work with a partner when installing lights on your roof. Working together won’t just make things move more quickly and smoothly, you’ll also be far safer as you install those lights. If you’re using a ladder, have your partner hold the ladder securely. They can also hand you tools and take tools as you get up and down from the ladder. Working with someone else also means that someone will be there should an accident happen. You don’t want to get stuck on the roof if your ladder accidentally falls over!
Keep Pets and Kids Inside
While the lights are going up, it’s best to keep the kids and pets indoors. It may be unlikely, but it’s certainly possible that one of the kiddos will run into the ladder, or your pup may be in danger of a falling tool if they stand under the awning of your roof while you’re working. Keep the area around your home clear from distractions, while keeping your kids and pets away from anything that can fall off the roof.
Avoid Snow and Ice
If snow and ice are on the roof, then it’s best to avoid installing lights altogether. Don’t risk stepping on a sheet of ice and slipping. Just wait until the snow melts, or wait until next year if you have to. You may be able to hire a roof snow removal company (we do that!) to get rid of snow and ice on your roof. Give your roof a sunny day to dry, and you’ll be able to get up there for this year’s lighting installation.
Plant the Latter in a Secure, Accessible Spot
As you install lights around your home, you may have to move the latter from time to time. If that’s the case, be sure to plant the latter on a secure surface. Don’t put your ladder on loose gravel or on top of snow or ice — you can dig out a space for your ladder if there’s snow on the ground. Be sure to plant the ladder, and give it a good firm shake to ensure that it’s not moving anywhere. Then, have your partner hold the ladder firm as you navigate up and down the rungs.
Use a Roof Harness
Invest in a roof harness, read the installation instructions, and put the harness on before you head up to the roof. You’ll also need the right tools handy to install the harness (often you’ll need a hammer and nails to install an anchor, or a screw gun and screws). You may want to toss all of your tools into a bucket to give yourself a free hand as you navigate to the top of your roof. Follow the safety guidelines outlined in the owner’s manual provided by your roof harness manufacturer.

Roof Snow Removal and Roof Repairs From Red Dog’s
Here at Red Dog’s Roofing, we want you to be as safe as possible, and we want to ensure you have a sturdy roof over your head. Count on us to provide roof repairs year-round, and to remove any hazardous snow from your roof. We aim to protect you and your property, and we’re fully licensed and insured. Give us a call today to learn more or to schedule any of our services! We provide roofing services in Fitchburg, Leominster, Gardner, Westminster, Lunenburg, Lancaster, Ashburnham, Princeton, and Sterling.
Tags
Subscribe to Red Dog's Roofing's Blog


Comments